Friday, 26 April 2013

Programming Blinking Eyes in Games

What seems simple in visuals is not so simple in programming

During one presentation, my lecturer suggested that having blinking eyes for the negative blocks would bring it to life. I agreed and thought it was a great idea, with little knowledge on how to go about doing it.

One thing that I have started to notice during the development of this game is that as avid gamers, no matter how dedicated they are to playing games will find it difficult to come to fully appreciating the work that is put into developing a game. A great example of this which I must admit to doing, is underestimating the amount of effort that goes into creating a simple thing such as blinking eyes within a game.

Now, being on the other side and actually trying to create this simple function, it is not actually as simple as you'd think. To create blinking eyes, you need to create a custom script (JavaScript) that switches textures with the eyes that are closed every few seconds to create the illusion of blinking eyes. 

This is the original negative block.

After a few moments in photoshop, this is the negative block whilst closing his eyes which will be a single frame animation.

If you animate blinking eyes with more than a 1 frame animation, then it has to be played as a sprite sheet with a custom animation script, so to keep things simple, I am going create a script that alternates between two different textures. I had a lot of help from the Unity3D forums and Unity Answers forum which is plentiful in answers and a large community willing to lend a hand.

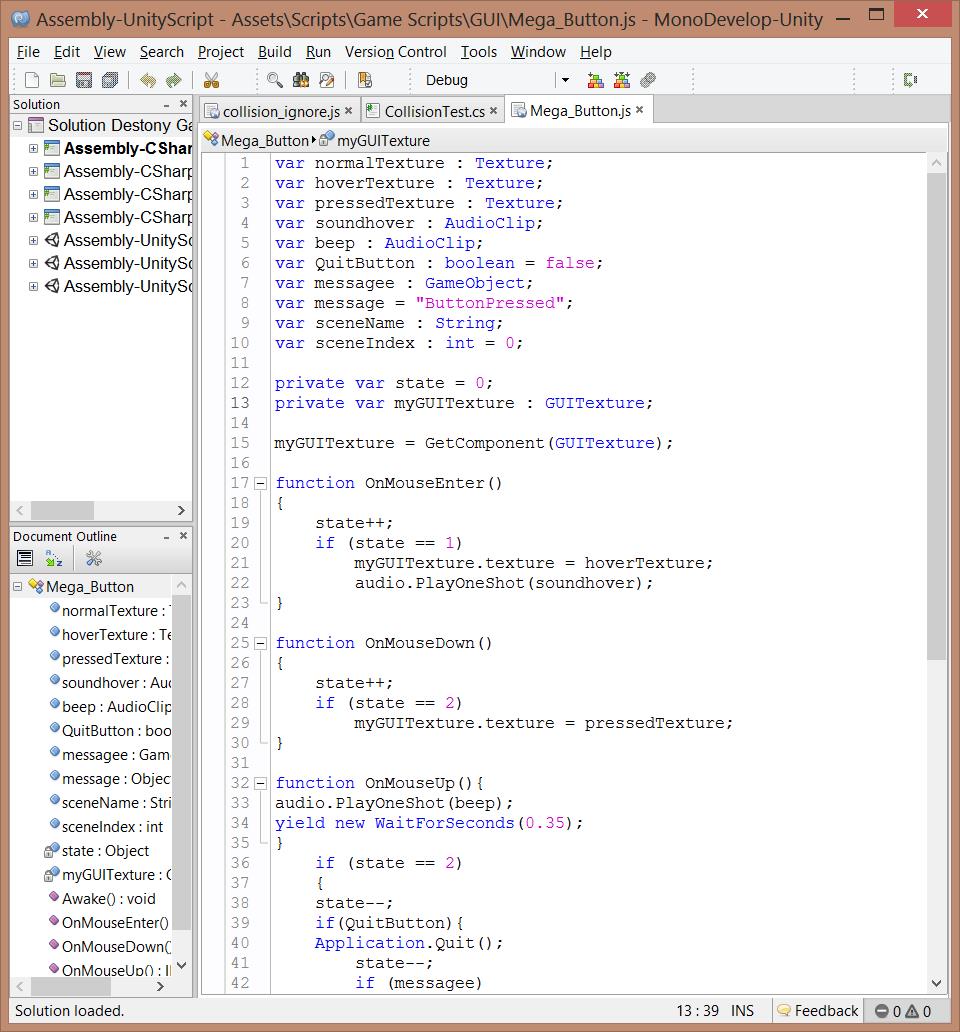
The Javascript file can be seen bellow:  

To simply explain the code, the top part of the code starting with 'var' display the variables which are the settings that can be changed. The code bellow the var options are basically the code that creates the variables. So for example, at the top it shows eyeTimer + Random.value*randomfactor, which means that the eyeTimer variable will blink after the allocated second count, but also that at random (random factor) the blinks will happen unexpectedly.

Above you can see what the script looks like within Unity.

Normal Eyes: texture of the normal open eyes.
Blinky Eyes: texture of the closed eyes.
Eye Material: The material that unity connects with (this is particularly for lighting, although there is limited lighting within my game)
Eye Timer: the amount of seconds before a texture change (blink) occurs.
Blink Timer: the time the texture stays before it is changed (the actual blink time)
Random Factor: how much you want a random blinking factor to influence the blink. 

The next step was to make sure that all the blocks do not blink at the same time, as that would look strange, so I had to create 3 separate prefabs (Unity's custom holder of items) of the negative block which would blink all at different times. I chose for block 1 to blink after 3 seconds, block 2 at 4 seconds and block 3 at 5 seconds.

Application


UPDATE: Above is a video of the blinking in action, it sometimes blinks too much in random which I will need to look into fixing, although it is not a massive issue and I think that it brings a sense of atmosphere and realism for what a 2D game can produce. I also applied the same procedure to the white block also. I tried to create a similar code to apply to the character, although it did not work so well due to the characters various animations and the angle when he is moving left/right or jumping. Overall I am glad that I experimented with this and got the results I was looking for.

Thursday, 25 April 2013

Honours Project Podcast: Destony or Destiny?

This is a podcast explaining the strange spelling of Destony, maybe I should have called it DesTony as the name of the game was inspired by a friend of mine. I also talk about the inspirations I had for each level that is designed. To find out more, listen to the podcast bellow:

Podcast: Destony or Destiny?


Wednesday, 24 April 2013

Honours Project: Learning Contract


Learning Contract

Module Code: AG1084A
Module Title: Honours Project

Student Name: Ritatsu Thomas

Student Number: 0800111
Telephone Number: **********
Email Address: ***********@gmail.com


Project Title: Game Aesthetics: Systemic and Visual Significance


Project Aim:

This project seeks to unravel the aesthetic experience of game players, but more specifically to evaluate and consider what impact systemic significance (gameplay design) and visual significance (art design) have within aesthetics. As the main researcher and implementer of this project, my personal aim is to be self-driven in seeing that the project will be completed to its highest degree taking in regards the objectives and major tasks.  


Objectives:

1.    Establish a critical framework based on aesthetic experience through refining the views of what creates a satisfying experience focusing on systemic and visual significance.

2.    Analyse two games using the created critical framework as case studies which successfully explore systemic and visual significance.

3.    Develop a 2-D interactive prototype which encapsulates values and insights learnt from prior research in the two previous objectives.

4.    Critically evaluate the results of the interactive prototype using the created critical framework and summarise how results materialized in regards to the project aim.


Major Tasks:

·        Establish the appropriate research needed in order to form the correct framework through documenting academic, theoretic, media and industry opinion pertaining towards game aesthetics, followed by system and visual significance within games.
·        Record the research and development process of all the findings through a blog or sketchbook.
·        Extrapolate that research through developing a theory out of the consistent trends that convey successful system and visual significance to create a critical framework with no more than six attributes within in a graph/table format.
·        Produce a case study of two games, one which is thought to excel in successful aspects of systemic significance, and the other which is thought to excel in visual significance.
·        Create the art assets for the game: including characters, enemies, backgrounds, objects, logos.
·        Create a prototype of the game whilst incorporating aspects of the found research.
·        Create a simple and effective GUI for the game in order for the user to be able to start the game and to set the stage.
·        Create a minimum of 6,000 word dissertation document which will discuss and detail all the major findings of the project and evaluate the outcome.
·        Create presentations in order showcase a coherent display of the research.
·        Prepare the external display of the showcase by printing off relevant materials and prepping software.


Submission Deliverables:

  • Concept Development Log – Consisting of a blog/sketchbook
  • Pre-Production Portfolio - Consisting of a blog/sketchbook
  • Research Proposal
  • The Honours Project Portfolio – This consists of a framework and interactive game prototype
  • Dissertation – Digital and physical submission
  • Exposition
  • Progress Presentations
  • End of Year Presentation
  • Personal Development Portfolio - Consisting of a blog/sketchbook


Resources:

  • Unity3D 4.0
  • Adobe Photoshop
  • Adobe Illustrator
  • Adobe Flash
  • Adobe Premier
  • Microsoft Word
  • Computers with relevant software
  • Meeting space 


Tuesday, 23 April 2013

Main Menus: An Overlooked Essential

Why are Main Menu's so Important?
My Thoughts: When thinking of creating a game, creating the main menu is certainly something that you'd often let slip away of leave for the very last second. I feel that this method is flawed in many ways, why? because the main menu is one of the 'only' features in the game that they are indefinitely going to see every single the player plays your game. 

If you as an artist designed a side character and spent weeks modeling and texturing it so that it is highly polished, yet that character is inside an RPG or MMO, how often is that character going to be seen? chances are, that it is not going to be seen very often. The main menu on the other hand is seen every single time that player signs into his game or connects online. To leave something that is that often seen to be a last priority, I beg to differ that being a smart choice.

Experimenting with EZ GUI for Unity3D

Throughout today, to try and get the most out of the menus of my game, I followed through the bellow tutorial on EZGUI which is a Unity plugin that I downloaded to try out and experiment with as I had read some really good reviews on how it speeds system performance and keeps your whole interface in one scene as opposed to several and makes Menus 'EZ'.


Introduction to Unity and EZ GUI 1/5 from Johan S on Vimeo.

I followed all 5 sections of the video which took quite a few hours to comprehend and setting up EZ gui was not the simple and 'EZ' dream I had hoped it to be.

Using the software turned out to be fairly straight forward in understanding although the way of actually implementing it was a multiple step method which was a hassle to remember. You basically have to set up different objects with different backgrounds and EZ gui will  automatically pull and push those backgrounds with buttons on them to the front show the interface you would like to see, so it just swapped backgrounds so that all the interfaces can be on one spot which is great.

 Here was me trying it out and moving the backgrounds back and forth.

I started to create the buttons and assign the correct properties for them to launch new levels. You can also mess around with effects such as fade in or fade out or to make the button bounce or scale bigger or smaller when you press them which is great.

 Although at the end of my experience with using EZ GUI I realized that it really was a bit unnecessarily complex for my needs and decided it would be far 'easier' (ironically) and quicker to just stick to Unity GUI textures and coding button down functions with scene changes instead.


Sticking with Unity GUI Textures and Text

So in the end, I opted for a more simple method of using very clean and straight forward text with a minimal background to present my game. I played around with a really minimal background and a new type of font and by serendipity, I felt it really worked well and presented adequately the effect I was going for within my game. You can see an example bellow of the more final stages of my menu development. 

 Mega Button JavaScript Code: After searching the Unity Wiki and watching several youtube video tutorials on GUI, I managed to compile a master code which I used for every button feature of my game.


Button Normal: This is the interface of the script, as you can see there is a Normal, Hover and Pressed Texture, as well as Sound hover and Beep (which you add your own sounds to), then a message function which I did not need to use, then at the bottom is the Scene Name and Index which is where pressing the button will take you to a different scene. This button was incredibly helpful.

Button Normal: The GUI texture of the button when it is normal.

Button Hover: The GUI texture of the button when it is hovered over, the sound hover audio file also plays here.

Button Pressed: The GUI texture of the button when it is pressed down, the sound bleep audio file is also played here and the game takes you to your specified next scene.

Main Menu: This is what I ended up with in the end, Pros: it is simple and clean as well as focuses on it's purpose. Very functional yet also sophisticated. Cons: could possibly do with more features or some effects in the background, or even images of the game with the character.  

Saturday, 20 April 2013

Supervisor Meeting: Dissertation Draft Feedback

I had another meeting with my supervisor, this one was helpful in more ways than one and the whole session was pretty much about my dissertation. I handed in my 1st draft a few days before and my supervisor Dayna spent a decent amount of time meticulously correcting and suggesting ways of improvement within my dissertation and it was all marked with a red pen to make things clear and easy for me to correct.

Again Noticed Skill Gap

The main things that needed improvement after the feedback 'again' was my use of hyperbole, which I have personally recognized as a skill gap within my writing. I tend to get quite excited with passionate words which at times have little or no evidence of truth. This is something i would like to improve with through the rest of the semester as it has been something that my lecturer also mentioned in regards to marking my previous blog and I have improved since then, but there is always room for improvement.

Here is what was discussed during the meeting along with action steps for the future:

Meeting Agenda:

·        Dissertation draft corrections and feedback.
·        Getting ready for the showcase: printing business cards and preparing work.
·        Critical framework placement in Dissertation.
·        Planning the next meeting after Easter break.


Progress Report:

·        The Dissertation draft was completed early in order maximise feedback and create a further polished academic piece of writing.
·        The case studies were both inserted into the dissertation.
·        The bug of collecting the light box within the game has been fixed and you can now collect the item at all angled rather than just the bottom.


Agreed action points:

·        Have a 2nd draft completed by the end of Dayna’s Easter Break.
·        Remove the extreme uses of hyperbole within the dissertation.
·        Try and cut down on the word count as 13,500 words is quite exhaustive for an art based dissertation despite it being an interesting read.
·        Restructure the placement of your titles.
·        Start getting your work ready for submission, leave the dissertation alone for a while and work on developing the game further.